Process
This is a brief, simplified overview of how we design and make products. Feel free to use the contact section if you have any questions about 3D design or manufacturing.
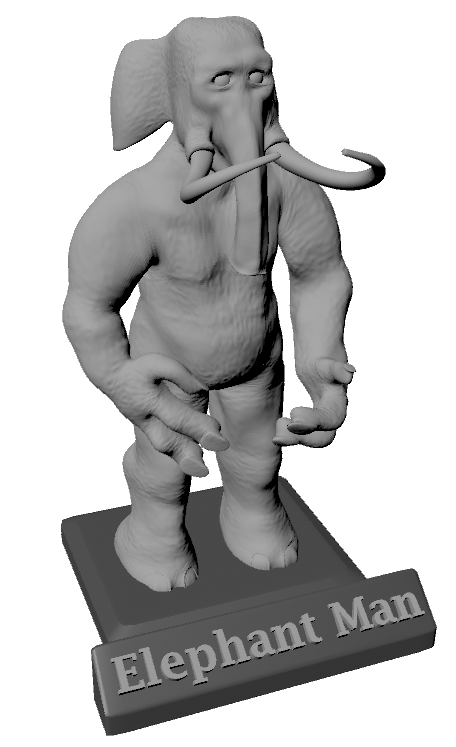
- A digital model is created in a process similar to sculpting with real-world materials like clay, but in a virtual, geometric environment where the user has very precise control over all measurements and other changes being made. Basic shapes are modified and added/subtracted until they reach the desired shape. The elephant model below was created by a long modeling process beginning with nothing but a simple cube. Text, symbols, and logos are added by converting 2D shapes into planes (flat surfaces) which can then be extruded into 3D shapes.
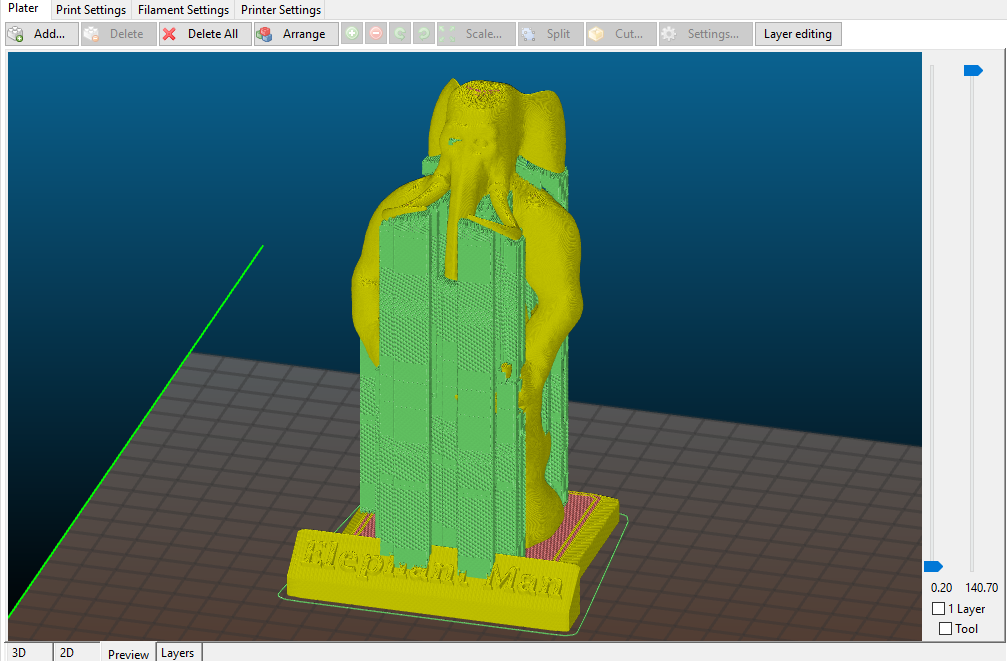
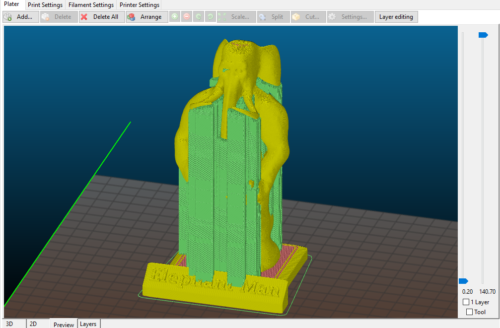
- The model is put into a slicing program to prepare it for printing. This software is what converts the 3D model into a file which tells the 3D printer all of the information it needs to print the object. It’s called a slicer because it “slices” the model into thin layers and converts them into a code that the printer can interpret. This includes information like how hot the print head and bed need to be, how detailed the object should be (more detail means a longer print time), how solid the print should be, what kind of cooling needs to be done, what kind of supports to generate, and dozens of other variables that change how the printer behaves. In the screenshot below, the green material is the support structure generated to hold up overhanging parts while they are being printed. This material is made up of a fragile grid that will be removed from the finished object (yellow).
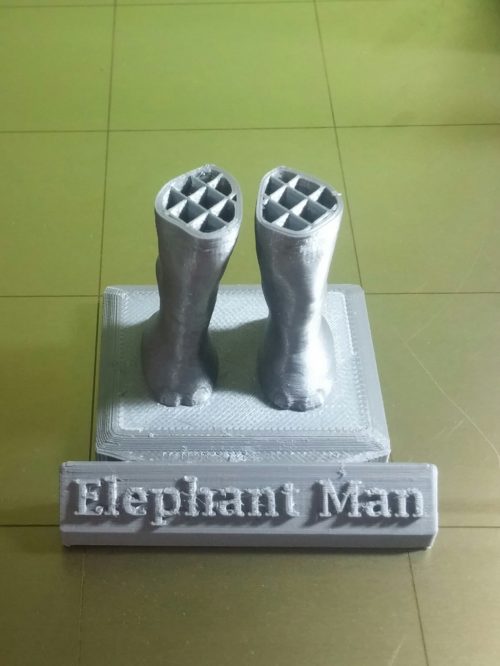
- The object is printed starting from the bottom up. The 3D-printer works a bit like a robot-controlled hot glue gun mounted above a heated bed, moving and extruding one layer at a time until it reaches the top. Many different types of materials can be used, it depends on the application of the object being made. Most common are plastics like PLA, ABS, and PET, each with their own varying characteristics such as flexibility, durability, moisture resistance, and melting temperature. 3D-printing involves quite a bit of trial and error when it comes to finding the perfect settings for each individual project, so sometimes a fast, low quality trial run of a project is attempted before investing many hours into a project that may fail part-way through. Print time depends on the detail, thickness, and size of the object being printed, and can take over a day to complete a single object. This print shows the model above several hours in to printing, at 20% infill. The grid inside creates structural strength with minimal material use. Supports have been removed to show detail. At this point no cleaning/smoothing has been performed on the model.
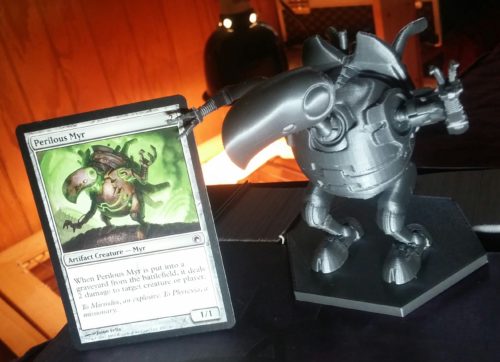
- The completed object has any supports removed (if supports were generated) and is cleaned up by cutting or sanding away excess material. We have developed our own technique using a variable temperature heat gun to help remove imperfections. Some plastics can be smoothed with various chemicals in order to have a glossy finish, and can also be sealed and painted if desired. The figure below was a custom order made for a client who wanted a pose-able figure of a character from the MTG trading card game.